
Day 75 of the 99-Day Halloween Countdown: DIY Vintage Apothecary Bottles
Welcome back to Day 75 of our 99-Day Halloween Countdown! With autumn just around the corner and spooky season fast approaching, now is the perfect time to fire up the glue gun and kick off your seasonal DIY decor projects. Crafting your own Halloween accents isn’t just budget-friendly—it lets you customize every creepy detail to fit your haunted home aesthetic.
Today, we are transforming plain glass jars and recyclables into eerie, antique potion bottles fit for a witch’s mantle or a spooky parlor shelf. This project is beginner-friendly, incredibly fun, and guaranteed to give your autumn decor that authentic, centuries-old haunted charm.

What You Need to Get Started
Before gathering your witchy ingredients, collect these basic craft supplies. Most of these can be found around the house or picked up at your local craft store:
- Glass bottles or jars: Empty wine bottles, mini potion bottles, sauce jars, or thrifted glassware work wonders.
- Hot glue gun & glue sticks: Perfect for adding 3D embossed lettering, cobwebs, or drip effects.
- Acrylic craft paints: Matte black, dark brown, antique gold, moss green, and bone white.
- Mod Podge or craft glue: To seal paper labels and add textured grime.
- Printable witch apothecary labels: You can print vintage labels on parchment paper or distress plain white paper with coffee.
- Finishing accents: Jute twine, cork stoppers, fake spiders, cheesecloth, or sealing wax.
Step-by-Step Potion Bottle Tutorial
Follow these easy steps to craft your own distressed Halloween potion collection:
- Prep and Clean the Glass: Soak your bottles in warm soapy water to remove commercial labels and adhesive. Let them dry completely before starting.
- Create 3D Details with Hot Glue: Use your glue gun to draw creepy symbols, spell names (like “Poison,” “Elixir,” or “Venom”), or raised spiderwebs onto the surface of the bottle. Allow the glue to cool completely.
- Apply the Base Coat: Paint the entire bottle using matte black or dark brown acrylic paint. This conceals the clear glass and gives your bottle a heavy, ceramic or iron look. For added texture, dab the paint on with a sea sponge or wrinkled paper towel.
- Age and Distress: Once the base coat is dry, lightly dry-brush antique gold, dark green, or gray paint over the raised hot glue design and edges. This gives the bottle an aged, oxidized patina.
- Attach and Weather Your Labels: Tear the edges of your potion labels for a ragged look. Brush a layer of Mod Podge onto the back, press the label onto the bottle, and smooth out air bubbles. Once dry, dab a tiny bit of brown paint or watered-down coffee around the label edges to make it look centuries old.
- The Finishing Touches: Wrap jute twine around the bottle neck, add a cork stopper sealed with hot glue “wax” drips, or glue a tiny plastic spider near the label.
Shop Essential Supplies for This DIY Craft
Ready to start making your own spooky setup? Here are a few recommended craft essentials to help you bring your potion lab to life:
- Assorted Glass Craft Bottles: Find versatile glass apothecary bottles on Amazon to serve as the perfect base for your witchy brews.
- Precision Hot Glue Gun: A reliable glue gun is essential for detailed 3D lettering and spooky glue drips. Check out popular craft glue guns online before starting your build.
- Matte Mod Podge Sealer: Keep your potion labels secure and waterproof with a classic matte decoupage sealer.
How to Display Your DIY Apothecary
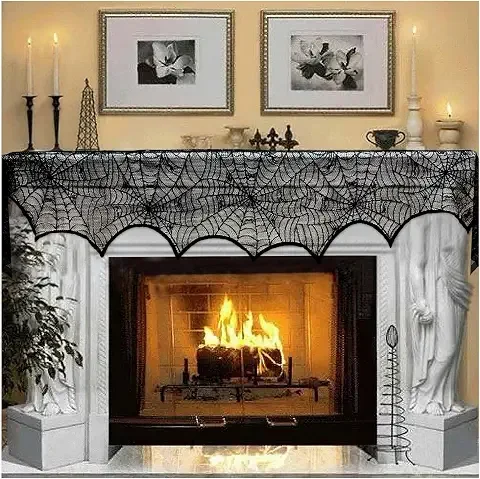
Once your potion bottles are finished, group them in clusters of three or five on a fireplace mantle, bookshelf, or entry table. Surround them with black gauze cloth, battery-operated flickering taper candles, dried autumn leaves, and miniature pumpkins to create a rich, seasonal display that captures the magic of October.
What DIY projects are you tackling for Halloween this year? Share your potion creations with us on social media using our countdown tags, and be sure to check back tomorrow for Day 74 of our ultimate Halloween countdown!
Related Products on Amazon:

We may earn a small commission from purchases made through these links.



Leave a Reply